
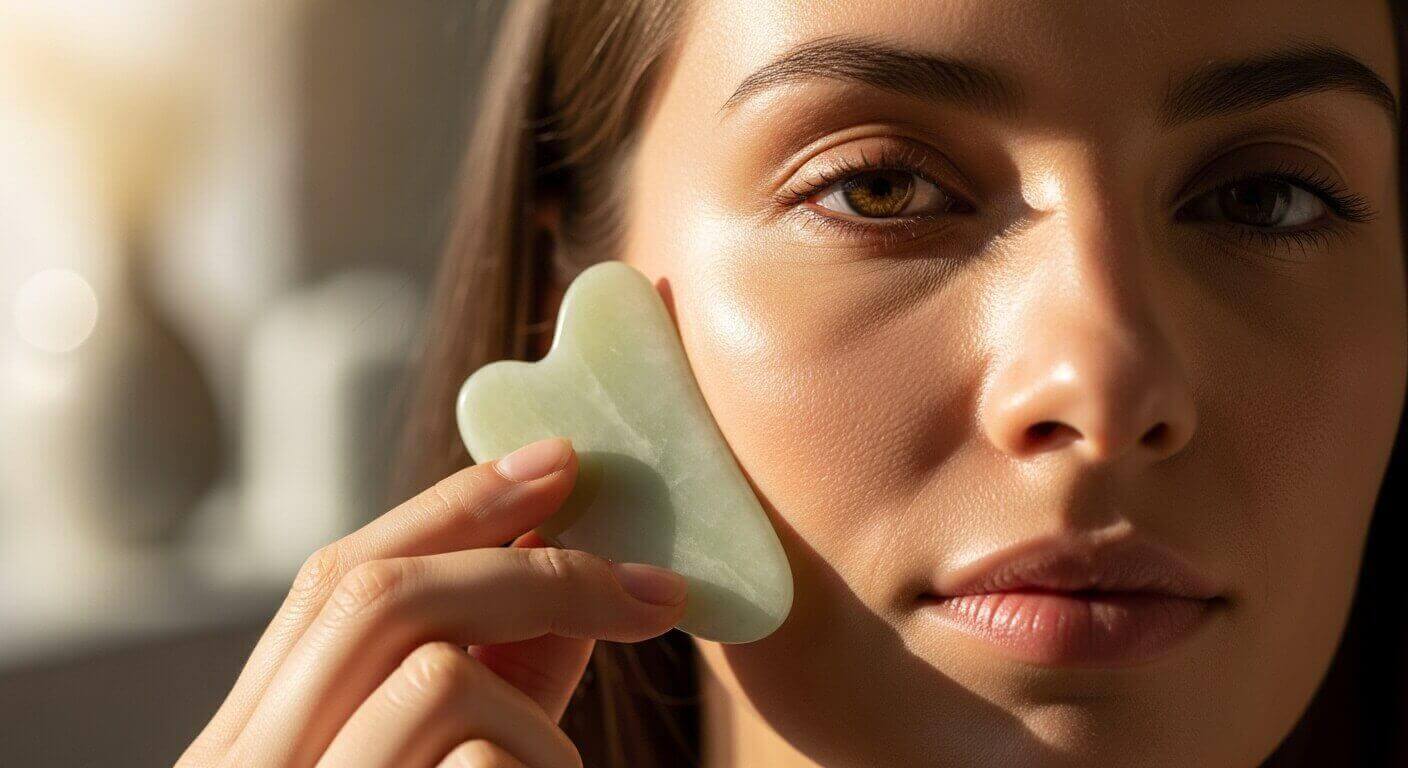
Master the art of gua sha for lymphatic drainage at home. Reduce puffiness, sculpt your jawline, and achieve glowing skin with our expert, step-by-step guide.
Let’s be honest for a second. We’ve all had those mornings where we wake up, look in the mirror, and feel like our face is holding onto every sip of water (or wine) we had the night before. The puffiness is real, and sometimes, no amount of splashing cold water seems to fix it.
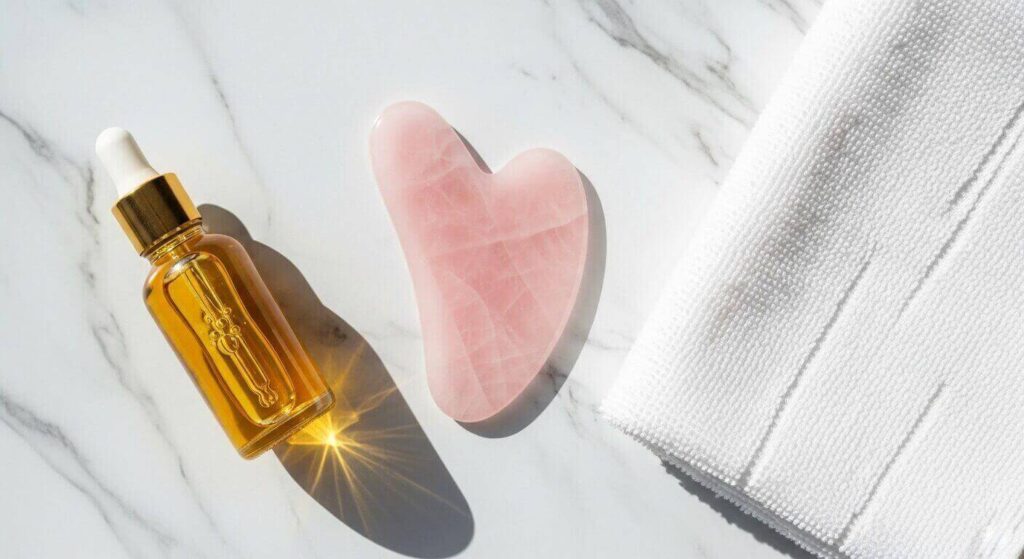
For years, I relied on expensive facials to get that “snatched” look, until I discovered the ancient Chinese practice of gua sha for lymphatic drainage at home. It wasn’t just a trend; it was a game-changer for my skincare routine.
Gua sha isn’t just about scraping a pretty stone against your face. It is a deliberate, mindful technique rooted in Traditional Chinese Medicine (TCM) that encourages the movement of lymph fluids, releases muscle tension, and boosts circulation. When done correctly, it transforms your face from puffy to sculpted in a matter of minutes.
In this comprehensive guide, I’m going to walk you through exactly how to perform gua sha for lymphatic drainage at home, share the science behind why it works, and help you avoid the common mistakes that could be damaging your skin. Let’s dive in.
Table of Contents
- 1. Understanding the Lymphatic System and Gua Sha
- 2. Top Benefits of Gua Sha for Lymphatic Drainage at Home
- 3. Choosing the Right Tool: Jade vs. Rose Quartz
- 4. Preparation: Setting the Stage for Drainage
- 5. Step-by-Step: How to Perform Gua Sha for Lymphatic Drainage
- 6. Common Mistakes to Avoid When Using Gua Sha
- 7. Aftercare and Cleaning Your Tool
- 8. Frequently Asked Questions
1. Understanding the Lymphatic System and Gua Sha
Before we touch the stone to the skin, you need to understand what we are actually moving. The lymphatic system is essentially the body’s waste disposal unit. Unlike your circulatory system, which has the heart to pump blood, the lymphatic system doesn’t have a pump. It relies on muscle movement, breathing, and manual manipulation (like massage) to move fluid.
When this system becomes stagnant—due to lack of movement, diet, or just gravity while we sleep—fluid accumulates. This manifests as puffiness, dull skin, and even breakouts.
Gua sha for lymphatic drainage at home works by applying light, directional pressure to encourage this stagnant fluid to move into the lymph nodes (the drains), where it can be processed and eliminated by the body. It’s not about “ironing” out wrinkles; it’s about internal flow.
2. Top Benefits of Gua Sha for Lymphatic Drainage at Home
Why should you dedicate 5 to 10 minutes of your day to this practice? The results go far beyond just looking good in a selfie.
- Immediate Depuffing: By physically moving the fluid, you can see an almost instant reduction in morning puffiness, especially around the eyes and jawline.
- Muscle Tension Relief: We hold so much stress in our face—furrowing brows at screens, clenching jaws. Gua sha helps break up fascia adhesions and relaxes tight muscles.
- Natural Contouring: Consistent use of gua sha for lymphatic drainage at home can reveal your natural bone structure, making cheekbones pop and the jawline appear sharper.
- Enhanced Product Absorption: Using the tool over facial oils helps drive the nutrients deeper into the skin layers.
💡 Pro Tip: Always keep your gua sha tool flat against the skin (about a 15-degree angle). Keeping it perpendicular (90 degrees) works for muscle scraping on the body, but for the face, we want a gentle glide to move lymph, not bruise the skin.
3. Choosing the Right Tool: Jade vs. Rose Quartz
Walk into any beauty store, and you’ll be overwhelmed by options. Hearts, wings, jagged edges—what do you actually need for effective gua sha for lymphatic drainage at home?
The shape matters more than the material. You want a tool with:
- A curved side for the cheeks and forehead.
- A divot or heart shape to hug the jawline.
- A pointed edge for acupressure points.
Regarding the stone material:
- Jade: Naturally cooler and creates friction/traction effectively. It’s known for balancing and cooling.
- Rose Quartz: Often smoother and holds heat longer if warmed up. It’s associated with soothing and self-love.
- Stainless Steel: Antibacterial and unbreakable. Great for clumsy hands (like mine!).
4. Preparation: Setting the Stage for Drainage
You cannot perform gua sha on dry skin. I repeat: do not use gua sha on dry skin. This will cause “drag,” which leads to micro-tears and premature aging—the opposite of what we want.
Here is the ideal prep routine:
- Cleanse: Start with a fresh face. You don’t want to push dirt and bacteria back into your pores.
- Tone (Optional): Apply a hydrating mist.
- Lubricate: Apply a generous amount of facial oil. You want “slip.” Good options include Jojoba oil (closest to human sebum), Rosehip oil, or Squalane.
- Wash Your Hands & Tool: Ensure your tool is clean before touching your face.
5. Step-by-Step: How to Perform Gua Sha for Lymphatic Drainage
This is the core of the practice. Remember, lighter pressure is better for lymph. Think of it like moving a coin under a tissue paper without ripping the tissue.
Step 1: Open the Neck (Crucial Step)
Many people skip this, but it’s the most important part. You need to open the “drains” (supraclavicular nodes) before moving fluid down to them.
Action: Use the curved side of the tool. Start at the base of your skull/ear and glide down the side of your neck to your collarbone. Repeat 3-5 times on each side.
Step 2: Sculpt the Jawline
This is everyone’s favorite move for defining the jaw.
Action: Use the heart-shaped notch. Place your chin in the notch and glide firmly (but gently) up along the jawline towards the earlobe. When you reach the ear, give it a little wiggle to release tension.
Step 3: Depuff the Cheeks
Target the fluid sitting in the mid-face.
Action: Use the long curved side. Place it flat against the side of your nose/mouth. Glide upwards and outwards towards the hairline/ear. Support the skin near your mouth with your other hand to prevent stretching.
Step 4: Soothe the Eyes
Be extremely gentle here.
Action: Use the smaller rounded edge. Start at the inner corner of the under-eye and glide outwards to the temple. Use feather-light pressure.
Step 5: Smooth the Forehead
Relax the furrow lines.
Action: Use the long flat side. Start at your eyebrows and pull upwards to the hairline. Then, glide horizontally from the center of the forehead out to the temples.
Step 6: The Final Drain
Finish by sweeping from the center of the forehead, out to the side, down by the ear, and all the way down the neck to the collarbone. This flushes everything out.
⚠️ Caution: Do not perform gua sha over active acne, open wounds, or sunburn. Doing so can spread bacteria and cause inflammation. Instead, work around the area or focus on the neck to encourage downstream drainage.

6. Common Mistakes to Avoid When Using Gua Sha
Even with the best intentions, I see many people making errors that hinder their results with gua sha for lymphatic drainage at home.
| Mistake | Correction |
|---|---|
| Using too much pressure | Lymph vessels are superficial. Use light, “fluffy” pressure. Deep pressure is for muscle knots, not drainage. |
| Holding the tool at 90 degrees | Lay the stone almost flat (15 degrees) against the skin for maximum contact and safety. |
| Skipping the neck | Always start and end with the neck to open lymphatic pathways. |
| Going too fast | Slow down. This is a meditative practice. Slow movement catches the lymph flow better. |
7. Aftercare and Cleaning Your Tool
After your session, drink a large glass of water. Just like after a body massage, hydration helps flush the toxins you’ve just mobilized.
Hygiene is paramount. Wash your gua sha tool with warm water and soap after every use. If you are prone to acne, you might even want to spray it with alcohol. Bacteria loves to hide on these smooth surfaces, and putting a dirty tool on your face is a recipe for disaster.

8. Frequently Asked Questions
Q: How often should I do gua sha for lymphatic drainage at home?
A: For the best results, consistency is key. Aim for 3 to 5 times a week. Even 5 minutes in the morning can make a significant difference in puffiness.
Q: Can gua sha reduce a double chin?
A: While it cannot remove fat cells, gua sha can significantly reduce fluid retention in the jaw and neck area, making the jawline appear much sharper and less swollen.
Q: Should I do gua sha in the morning or night?
A: If your goal is lymphatic drainage to reduce puffiness, the morning is best, as fluid accumulates while we sleep. If you want to relieve muscle tension from the day, evening is ideal.
Q: Does gua sha help with wrinkles?
A: Indirectly, yes. By relaxing tense muscles (like the “11” lines between brows) and boosting collagen-producing circulation, it can soften the appearance of fine lines over time.
Incorporating gua sha for lymphatic drainage at home into my routine was one of the best self-care decisions I’ve made. It forces you to slow down, connect with your body, and the visual results are just the cherry on top.
Remember, this is a practice of patience. You might see a depuffed face immediately, but the long-term sculpting benefits come from months of consistent, gentle care. Grab your stone, apply your favorite oil, and give your face the love it deserves.
Have you tried gua sha yet? Let me know your experience or drop any questions in the comments below! 😊
“Gua Sha for Lymphatic Drainage at Home: 5 Minutes to Sculpted Skin”에 대한 3개의 생각