
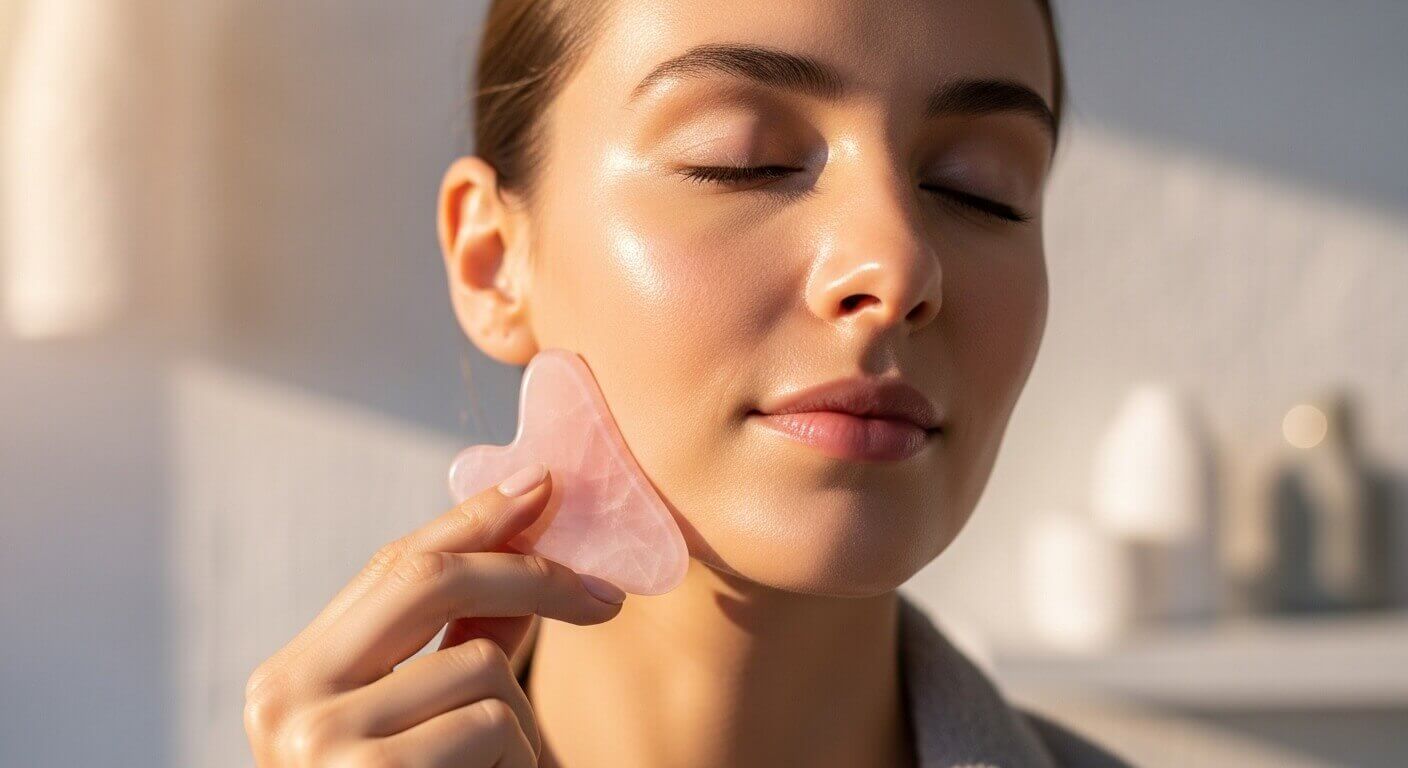
Learn exactly how to use gua sha on face step by step. Unlock glowing skin, reduce puffiness, and sculpt your jawline with this expert guide to facial massage.
Let’s be honest: we’ve all seen those mesmerizing videos on TikTok or Instagram. You know the ones—someone glides a smooth stone over their face, and suddenly, their cheekbones look like they were carved by Michelangelo, and their morning puffiness vanishes instantly.

It looks satisfying, doesn’t it? But if you’ve ever bought a tool, stood in front of your bathroom mirror, and thought, “Okay, now what? Am I just rubbing a rock on my face?” you are definitely not alone.
Gua Sha (pronounced gwah-shah) is far more than just a beauty trend. It is an ancient Traditional Chinese Medicine (TCM) practice that has stood the test of time for a reason. When done correctly, it supports lymphatic drainage, releases muscle tension, and leaves you with a natural, healthy glow. However, doing it incorrectly can actually drag your skin down or cause bruising.
In this guide, I’m going to walk you through how to use gua sha on your face step by step. We’ll cover the prep, the technique, and the “why” behind every movement, so you can stop guessing and start sculpting.
Table of Contents
- 1. What is Gua Sha and Why Do You Need It?
- 2. Preparation: Tools and Skin Prep
- 3. Master Guide: How to Use Gua Sha on Face Step by Step
- 4. Aftercare and Tool Maintenance
- 5. Common Mistakes to Avoid
- 6. Frequently Asked Questions (FAQ)
1. What is Gua Sha and Why Do You Need It? 🤔
Before we dive into the technique, let’s respect the roots. Originating from ancient China, Gua means “to scrape” and Sha refers to the redness (or petechiae) that rises to the skin’s surface. While body gua sha is vigorous and meant to break down tissue stagnation, facial gua sha is much gentler.
Why incorporate this into your routine? Here is the reality beyond the hype:
- Lymphatic Drainage: Your face holds excess fluid (hello, morning puffy eyes). Gua sha encourages this fluid to move to your lymph nodes so your body can process it.
- Tension Relief: If you grind your teeth or furrow your brows at your laptop, this is a game-changer. It physically smooths out the fascia (connective tissue) and muscles.
- Circulation Boost: The movement increases blood flow, which brings oxygen and nutrients to the skin cells, resulting in that immediate “glow.”
2. Preparation: Tools and Skin Prep 🧴
You cannot simply grab a dry stone and start dragging it across your face. That is a recipe for wrinkles and irritation. Proper preparation is 90% of the success.
Choosing the Right Facial Oil
Slip is non-negotiable. You want the tool to glide, not pull. A good facial oil is essential.
- For Dry Skin: Rosehip oil or Marula oil (rich and hydrating).
- For Oily/Acne-Prone Skin: Jojoba oil or Squalane (lightweight and non-comedogenic).
- For Sensitive Skin: Sweet Almond oil or pure Argan oil.
💡 Pro Tip: Keep your Gua Sha tool in the refrigerator for 10 minutes before use. The cold stone creates a vasoconstriction effect that helps depuff eyes almost instantly!
3. Master Guide: How to Use Gua Sha on Face Step by Step 💆♀️
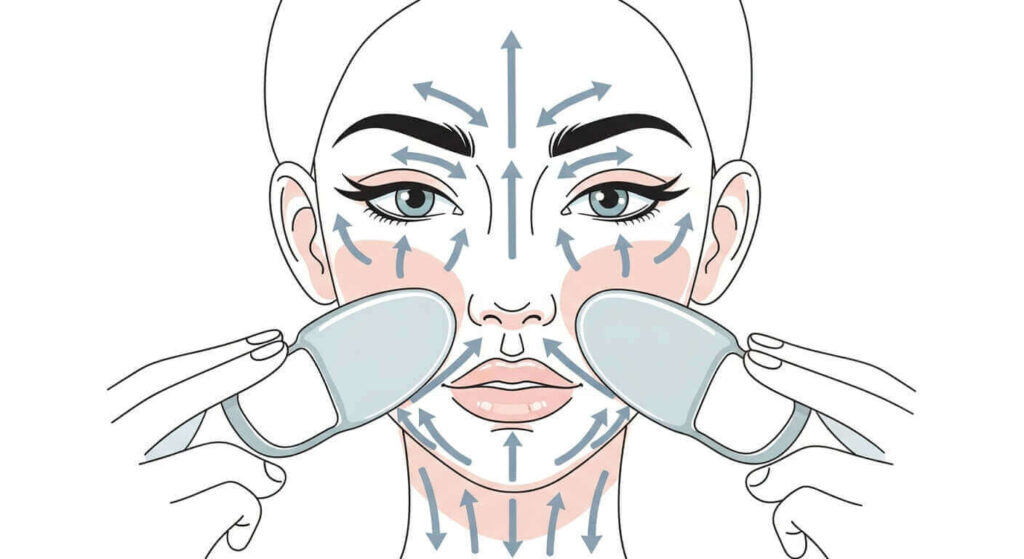
This is the core of the routine. Follow this sequence to maximize lymphatic drainage. We always start from the neck to “open the drain” before working on the face.
⚠️ Crucial Rule: Hold the tool flat against your skin (about a 15 to 45-degree angle). Never hold it perpendicular (90 degrees) like you are cutting a steak. We are gliding, not slicing!
Step 1: Open the Neck (The Highway for Lymph)
Imagine your lymph nodes are drains. If the drain in your neck is clogged, the fluid from your face has nowhere to go.
- Start at the back of your neck. Glide the tool from your shoulders up to the base of your skull to release tension.
- Move to the sides of the neck. Glide downwards from just under your earlobe to your collarbone. This encourages drainage. Repeat 3-5 times per side.
Step 2: Define the Jawline
This is everyone’s favorite step for sculpting.
- Use the notched part (the heart shape) of your tool.
- Place it at the center of your chin.
- Glide it along your jawline up towards your earlobe.
- At the end of the stroke, give the tool a little wiggle to massage the muscle attachment. Repeat 5 times on each side.
Step 3: Sculpt the Cheeks
Move upwards to lift the face.
- Use the long, curved side of the tool.
- Start at the side of your nose (not on top of it).
- Glide outwards and slightly upwards, following the cheekbone, towards your hairline/ear.
- Maintain light to medium pressure. We are moving fluid, not reshaping bone.
Step 4: Depuff the Under-Eyes
Be extremely gentle here. The skin around your eyes is thin and delicate.
- Use the smallest curve or the rounded corner of the tool.
- Start at the inner corner of your eye.
- Glide very lightly outwards towards the temple.
- Do not pull or tug. Think “feather-light” touch.
Step 5: Smooth the Forehead
This helps erase worry lines and lift heavy brows.
- Use the long flat side again.
- Start at your eyebrows and glide upwards towards your hairline.
- Move across the forehead—center, left, and right.
- This mimics a natural brow lift.
Step 6: Final Drainage
Once you have finished the face, glide the tool from the ear, down the side of the neck to the collarbone one last time. This pushes all that excess fluid you just moved into the lymphatic system to be flushed away.
4. Aftercare and Tool Maintenance 🧼
Now that you feel relaxed and sculpted, don’t forget hygiene. Your Gua Sha tool collects oil, dead skin cells, and bacteria.
Wash your tool with warm water and a gentle soap after every single use. Dry it with a clean towel. If you use a stone like Rose Quartz or Jade, be careful not to drop it—they break easily! You can keep your tool in a soft pouch or on a clean tray.
For your skin, drink a large glass of water. Since we have stimulated the lymphatic system, staying hydrated helps your body flush out toxins effectively.
5. Common Mistakes to Avoid 🚫
Even with the best intentions, I see many people making mistakes that hinder their results.
| Mistake | Why it’s bad | The Fix |
|---|---|---|
| Too much pressure | Can cause bruising or broken capillaries. | Use light to medium pressure. It should feel good. |
| Using dry skin | Tugs skin, causing sagging and irritation. | Always apply a facial oil or serum first. |
| Wrong angle | Scraping at 90 degrees is harsh and ineffective. | Lay the tool almost flat (15 degrees). |
| Skipping the neck | Traps fluid in the face; no drainage path. | Always start and end with the neck. |
6. Frequently Asked Questions (FAQ) ❓
Q: How often should I use gua sha on my face?
A: Consistency is key. Ideally, aim for 3 to 4 times a week. However, even doing it once a week is better than nothing. Just 5 minutes a day can show results.
Q: Should I do gua sha in the morning or at night?
A: It depends on your goals. Morning is best for reducing puffiness and waking up the skin. Night is excellent for relaxing facial muscles and releasing tension before sleep. Choose the time you can stick to consistently.
Q: Can I use gua sha if I have acne?
A: You need to be careful. Never glide the tool directly over inflamed, cystic acne or open wounds, as this can spread bacteria and increase inflammation. You can work on the neck and chest to help drainage, but avoid active breakouts on the face.
Q: Does gua sha actually slim the face?
A: Gua sha doesn’t burn fat, but it significantly reduces puffiness and water retention. By removing this excess fluid and relieving muscle tension (especially in the jaw), your face will appear more sculpted, defined, and slimmer.
Learning how to use gua sha on your face step by step is a journey of self-care. It’s not just about looking good; it’s about taking five minutes out of your busy day to reconnect with yourself and treat your body with kindness. Remember, be gentle, use plenty of oil, and enjoy the process!
Have you tried Gua Sha before? Let me know in the comments if you prefer Jade or Rose Quartz! 😊
“How to Use Gua Sha on Face Step by Step: The Ultimate Sculpting Guide”에 대한 2개의 생각